
Navigating the bridges of the Norfolk Broads
You might think "What is so difficult about passing under a bridge that it needs a page to itself". The rivers of the Broads are spanned by many bridges, some with very low headroom, some affected by tidal flows, and some with an obstructed view. Itemised below are the bridges you are most likely to encounter whilst on your boating holiday. We list headroom heights at high water, and how much the tide rises and falls together with advice on safe passage through.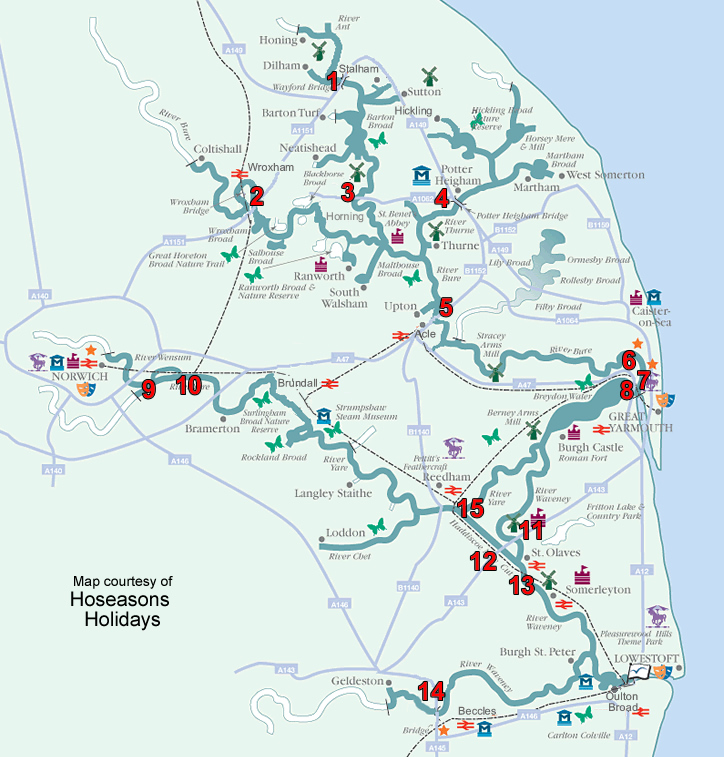
No. 1 - Wayford Bridge - 7ft (2.13 metres) clearance at high water
This bridge has little headroom at high water so care should be taken when passing through.
It is unusual in that the Dilham side has actually a greater headroom clearance than the Barton Broad side. To avoid cruiser skippers being misled as to the available height, a board has been hung horizontally beneath the Dilham side to equalize the clearance required on both sides. Basically, if you can pass under from the Barton Broad side, you will be able to pass back again subject to tidal rise and fall.
Rise and fall - Nil
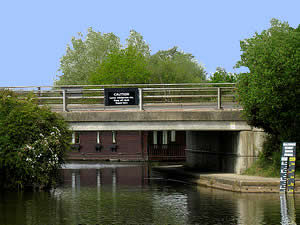
No. 2 - Wroxham Bridge - 7ft 3in (2.21 metres) clearance at high water
Regarded as the second tightest bridge on the Norfolk Broads to navigate due to its low headroom and its arched build which severely restricts passage through. It is located at a slight angle to the river which necessitates a small turn either just before or after passing through depending on your direction. The good news is that most boatyards have arranged for a pilot service to take your boat through for you. A small charge is payable on the day. The mooring point for the pilot to come aboard is just before the bridge on the Hotel Wroxham side (the right of the arch on the image).
Rise and fall -six inches (15cms)
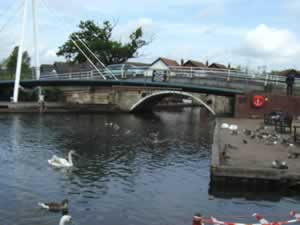
No. 3 - Ludham Bridge - 8ft 6in (2.59 metres) clearance at high water
There is plenty of headroom at this bridge so passage through is not normally a problem for the majority of craft. Situated just above a deep curve on the River Ant, visibility of oncoming boats is restricted making passage through difficult.
Line up to travel through, sound your horn, and be prepared to abort your passage at any time should a boat be preparing to travel through in the opposite direction. This is a very busy "bottleneck" so having to abort a passage through is a common occurrence.
Rise and fall - one foot (30cms)
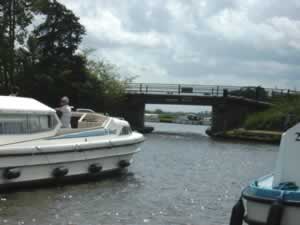
No. 4 - Potter Heigham - 6ft 6in (1.98 metres) clearance at high water
Potter Heigham Bridge situated on the River Thurne, is considered too low at 6ft 6in for holiday skippers to take their boats through. A pilot service is available for this purpose and is situated at the Phoenix Day Boats site on the right, just before the Herbert Woods boatyard side of the bridge. A small fee is payable on the day. Due to the severely restricted headroom, it is advisable to call the Pilot's office in advance on 01692 670460 between 8.30 a.m. and 6.00 p.m. to get an idea as to when is the best time to arrive for passage through. Tidal and wind conditions can all affect when you will be able to traverse the bridge.
Rise and fall 9 inches (23cms)
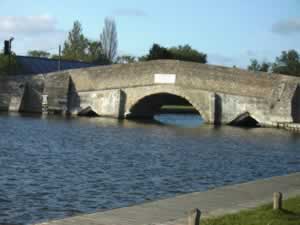
No. 5 - Acle Bridge - 12ft (3.66 metres) clearance at high water
This bridge straddles the River Bure at Acle, just a few metres from the Bridge Inn, where good mooring facilities are available.
Passage through should pose no problems. Both clearance and width are generous at all states of the tide. The only point to note is that the tides run quite fast at this point so allow for this if you see congestion or if another boat is coming into moor just before or after the bridge.
Rise and fall - 9 inches (23cms)
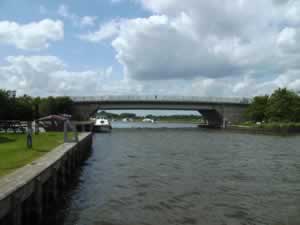
No. 6 - Yarmouth Acle Road - 7ft (2.13 metres) clearance at high water
This bridge and Vauxhall Bridge are situated around 100 metres from each other. As such, comments made apply to both bridges. This bridge is the first to come into view once you have passed Yarmouth Yacht Station. Due to the extreme tidal range here - up to six feet - you must time your arrival to ensure you have enough headroom to get under safely. The speed of the tide is also a consideration as it runs fast, perhaps 3/4mph through this narrow part of the river. If in any doubt, time your arrival around 1 hour either side of low water. (Click HERE for tide tables) Failure to time your passage correctly could be catastrophic as you find a lack of headroom forces you to change direction mid-current, perhaps with a strong tide pushing you towards a bridge. (See also advice on No. 7 - Yarmouth Vauxhall) We have a comprehensive guide to making the passage to or through Yarmouth HERE
Rise and fall - 6 feet (1.83 metres)
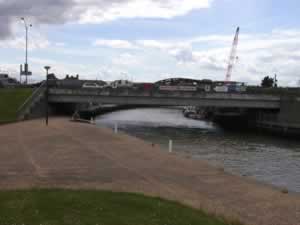
No. 7 - Yarmouth Vauxhall - 6ft 9in (2.06 metres) clearance at high water
Both bridges have red arrows pointing out the channel to cruise through. Straying out of this channel could result in your boat running aground at low water. When coming from the Breydon Water side, turn up the River Bure after passing the yellow post. Do not be tempted to cut the corner as the area is shallow and your boat could run aground.If coming into moor at the Yacht Station (not just for yachts!) ensure you come in against the tide, i.e. the tide would be pushing you back if you were in neutral. You will have more control of your boat as you come alongside. You can get advice on bridge clearances or ask for assistance on arrival by calling the Rangers on 01493 842794. We have a comprehensive guide to making the passage to or through Yarmouth HERE
Rise and fall - 6 feet (1.83 metres)
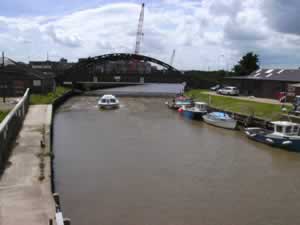
No. 8 - Yarmouth Breydon - 13ft (3.96 metres) clearance at high water
This lifting bridge is located on the wide expanse of Breydon Water. Due to the generous height and width, passage through should not cause any problems.
Boats travelling away from Yarmouth should travel under the span to the right of the lifting roadway which comes into view as you approach the bridge. Boats travelling towards Yarmouth should use the span on the opposite side of the lifting roadway. In both cases, you will see arrows pointing out the channel. The centre span is actually reserved for larger craft and has a set of lights to indicate when passage through is restricted. In all cases, ensure you do not go outside of the channel marked by the red and black posts. We have a comprehensive guide to making the passage to or through Yarmouth HERE
Rise and fall - 6 feet (1.83 metres)
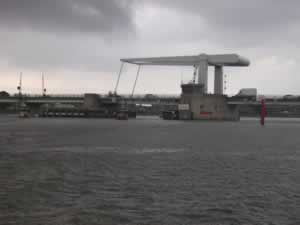
No. 9 - Thorpe Rail Bridge - 6ft (1.83 metres) clearance at high water
Thorpe Railway Bridge can be found at the entrance to a "cut" which bypasses the River Yare to take you past many houses, hotels, and a village green. It is very picturesque and worth the small detour from the main river which runs towards Norwich. The bridge is very low at high water to such an extent that passage through would not be possible for most craft at that time. Check the height above water reading for your craft (usually displayed near the steering wheel) and compare it with the bridge height gauge before proceeding.
Rise and fall - 1 ft 6 inches (46cms)
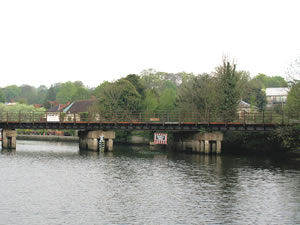
No. 10 - Thorpe Rail Bridge (2) - 6ft (1.83 metres) clearance at high water
This bridge marks the exit from the "cut" back onto the main river to Norwich. It is of similar construction and just as low as the other Thorpe Rail Bridge so needs to be treated the same.
There are overnight moorings available within the "cut" and consideration should be made as to what the headroom will be should you stay for any length of time. You may have to wait for a while for clearance out onto the main river.
Rise and fall - 1 ft 6inches (46cms)
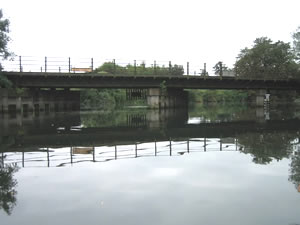
No. 11 - St Olaves Bridge - 8ft (2.44 metres)clearance at high water
Headroom at this bridge is ample for the passage of most boats - only dual steer craft with their higher profile might have to wait for suitable tidal conditions. The tide runs very fast at this point on the Norfolk Broads and as such care should be taken when passing through to avoid oncoming boats which may or may not have the tide with them., i.e. might be travelling faster than you.
If coming from Yarmouth, be aware that moorings for a public house are situated just beyond the bridge and that you might need to stay clear of boats arriving or departing.
Rise and fall - 2ft 9 inches (84cms)
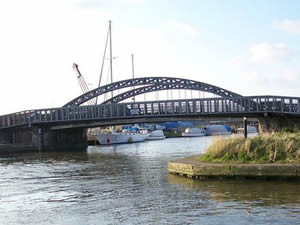
No. 12 - Haddiscoe New Cut - 24ft clearance at high water
With 24 feet of clearance, there are no problems passing under Haddiscoe bridge.
The reason it is featured here is that if coming from the St Olaves side, the channel narrows considerably as you approach the bridge and care should be taken if you see vessels approaching from the opposite side.
Rise and fall - 2ft 9 inches (84cms)
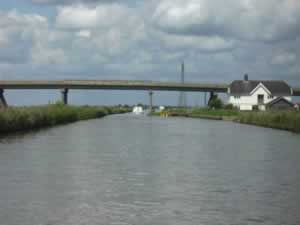
No. 13 - Somerleyton Rail - 8ft 6in (7.32 metres) clearance at high water
Somerleyton Rail Bridge will swing open between train operations for those that need it. However, with a clearance of 8ft 6in at high water, most craft will not have to wait to traverse.
Again, the only consideration here is the tidal flow which can be quite fast so beware if the tide is with you and you need to lower canopies in a hurry to avoid damage to your boat.
Rise and fall - 2ft 6 inches (76cms)
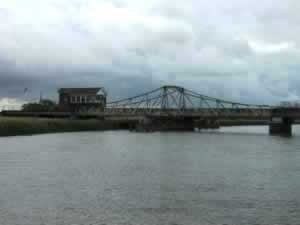
No. 14 - Beccles Bridge - 6ft 6in (1.98 metres) clearance at high water
Beccles Bridge is situated just beyond Beccles Yacht Station, and you will need to pass under should you wish to visit Geldeston. Bridge heights should be checked before proceeding through as at 6ft 6inches at high water, headroom will rule out passage to most craft.
At other times, passage through may be possible but consideration should be made to tidal conditions for your return journey to avoid being "trapped" above the bridge waiting for low water to increase headroom.
Rise and fall - 2ft (60cms)
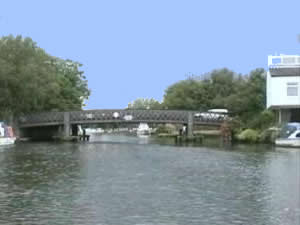
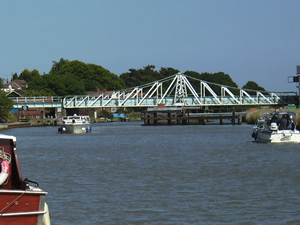
No 15 - Reedham Swing Bridge - 10ft (3.05 metres) clearance at high water
This is another bridge which on the evidence of its height clearance, should not cause any problems. However, the tide at Reedham runs quite fast and care should be taken when negotiating your passage through.
Though the river is wide at this point, access under the bridge is narrow as can be seen in the image. Take care when approaching, that craft coming from the other direction have enough room to pass - they may not have much control if travelling with (the same direction as) the tide. The bridge swings open from time to time to allow larger craft to pass through so you may see boats "loitering" within the vicinity.
Rise and fall - 2ft 9inches (84cms)
